

As the outside temperature become warmer, our ice cream cravings tend to increase. We'll usually head to Dairy Queen or simply buy a tub of ice cream from our local grocery store.
However, we have a recipe for low-carb ice cream that can be made and ready to eat in as little as 3-4 hours. And the best part - you don't need a ice cream machine!
Our ice cream preparation took us about 25 minutes, while our freezer time was another 3-4 hours.
Here are our ingredients:

- 4 oz. Mascarpone Cheese
- 1 1/2 Cup of Heavy Whipping Cream
- 1 Cup Chopped Sugar-Free Reese's
- 1 Egg
- 4 Egg Yolks
- 3 Heaping Tbsp. Sweetener
- 1 tsp. Vanilla
We'll begin by making our custard base for our ice cream. A custard base will allow for a richer and creamier outcome.
We'll place our egg, egg yolks, and sweetener into our glass mixing bowl.


Most ice cream recipes call for a double boiler, if not using an ice cream machine.
If a double boiler is not available, we can simply make our own. All that is needed is a glass mixing bowl and a pan of simmered hot water.
A double boiler will allow our eggs to heat, using the steam from our simmered water, rather than from direct heat on the stove.
We'll place our pan of water on our stove and will bring to a boil.


Immediately after the water begins to boil, we'll lower our temperature on the stove to a simmer.


We don't want our eggs to cook, We want to merely heat our eggs.
That's why we'll place our glass mixing bowl, containing our egg mixture, on top of the pan of simmered water. We'll then beat them on medium speed for 4-5 minutes, until the eggs have slightly thickened.


Warming our eggs will allow our ice cream a rich and creamy texture. If our eggs are not warmed, the resulting ice cream would melt faster and its texture would be ruined.
Next, we'll make an ice bath for our egg mixture, simply by placing ice and water in a large mixing bowl.

We'll then, place our mixing bowl into our ice water. We will continue beating our mixture with our hand mixer on medium speed for an extra 4-5 minutes.
This will allow our mixture to cool, while continuing to thicken.


After placing our cooled egg mixture aside, we'll add our Mascarpone Cheese to another mixing bowl.

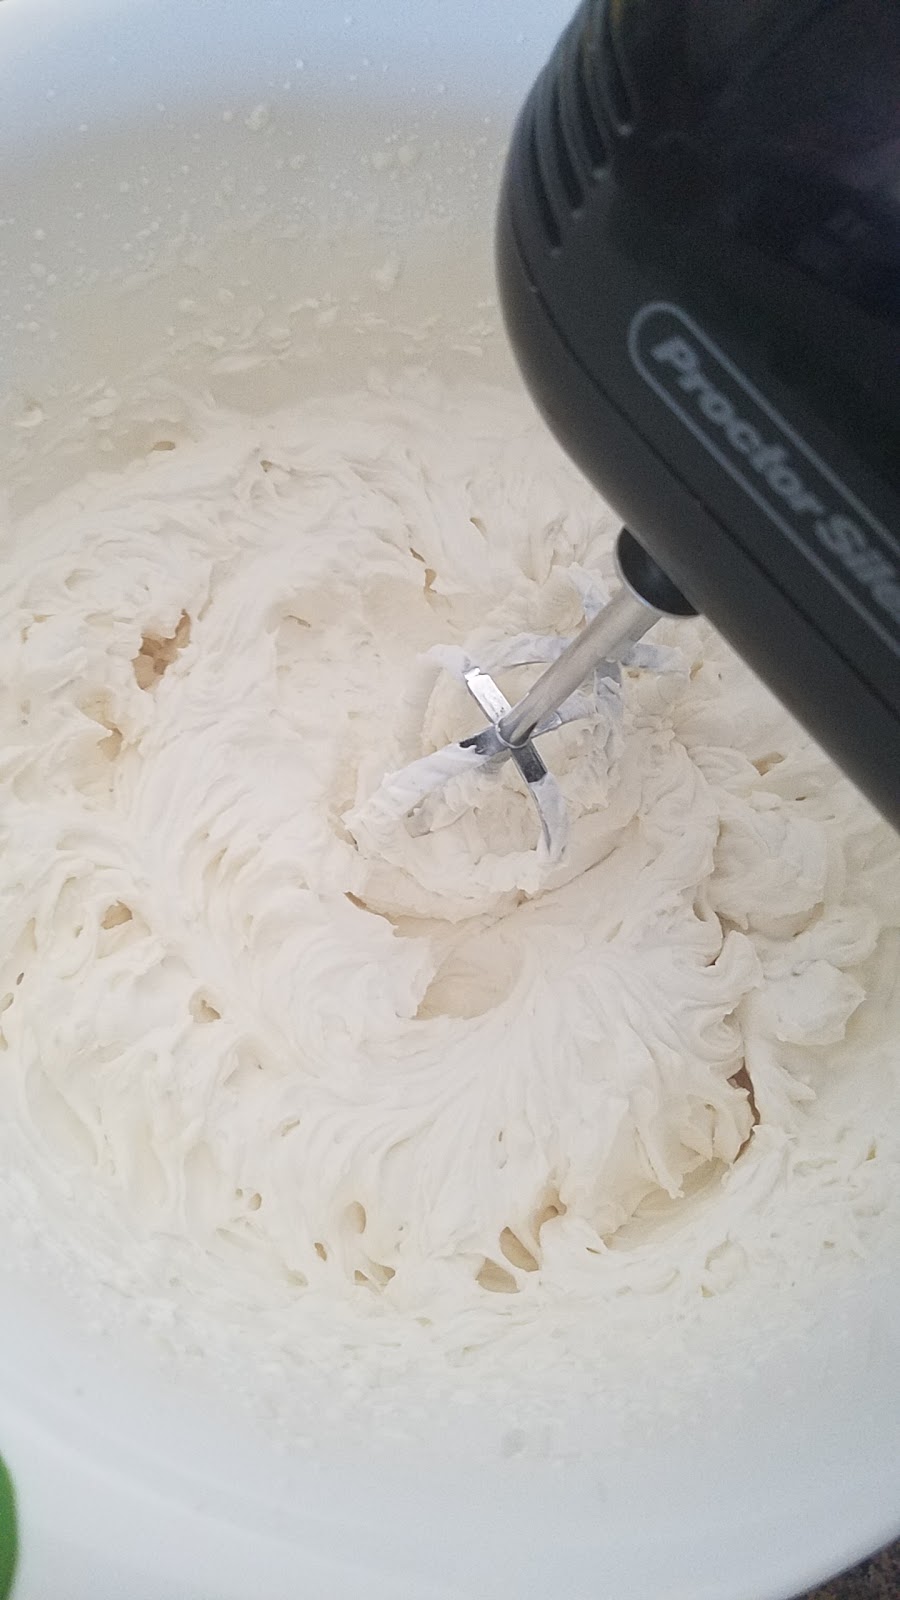
Next, we'll add our Heavy Whipping Cream and vanilla.


We'll then beat our mixture with our electric mixer on medium speed for about 4-5 minutes, until stiff peaks appear.
Creating stiff peaks allows us to beat more air into our whipped cream mixture. The extra air is necessary to keep our ice cream light and creamy.


We'll next, fold our egg yolks into our whipped cream.
Folding one set of ingredients into another allows us to keep the air bubbles intact, which will therefore, keep our ice cream smooth.
Simply pour the egg mixture over our whipped cream.

We’ll take our spoon and will scoop our whipped cream, which is on the bottom of our bowl, to the top of our egg yolks. We’ll then rotate the bowl, and will continue scooping until the mixture has folded together.


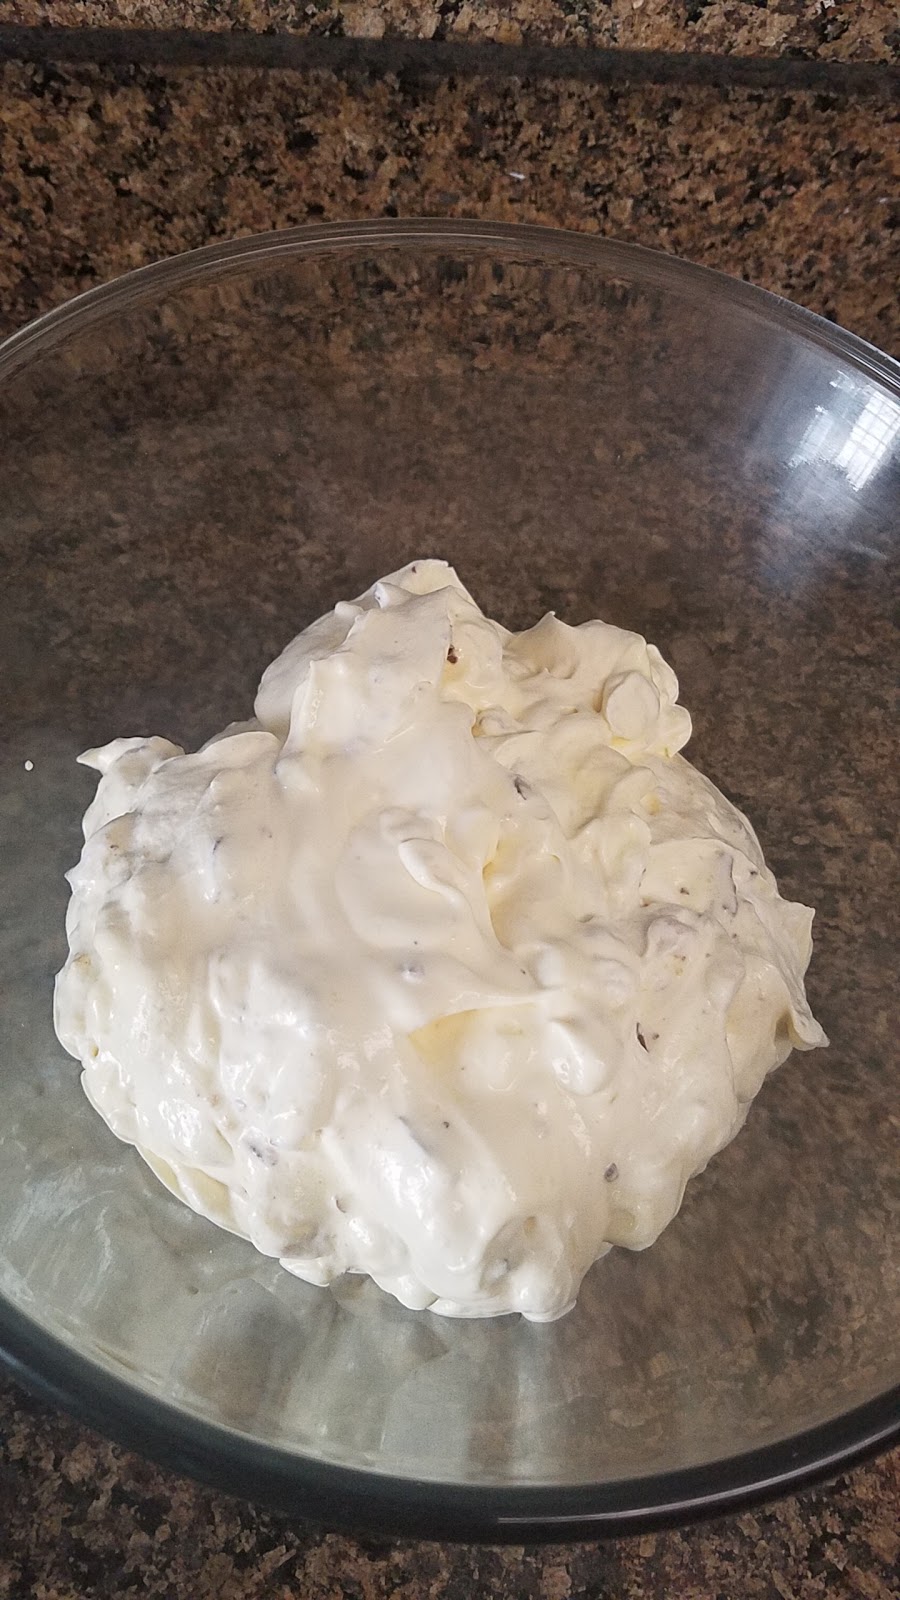
We'll, then, remove the wrappers from all of our Reese's Sugar Free Peanut Butter Cups, except for 1, and cut them into little pieces.


Next, we'll pour our candy pieces into our ice cream mixture and will completely stir.


We'll then cover our ice cream mixture and place into our freezer for 3-4 hours. This will allow our ice cream to fully set.

At the 3 hour mark, our ice cream had not completely set. However, at 4 hours, our ice cream was completely frozen.

In order for us to scoop any ice cream from our bowl, we allowed our mixture to stay at room temperature for 10 minutes.
After scooping our ice cream into our bowl, we'll chop the remaining peanut butter cup and will pour on top.


Voila! Our ice cream is ready to eat.
Our ice cream's creamy texture and decadent flavor is absolutely out-of-this-world!!
We hope you enjoy our ice cream as much as we do.

From our kitchen to yours.....Enjoy!!
No comments:
Post a Comment