Pages

Thursday, June 7, 2018

Giraffe's Refreshing Sweet and Sour Low-Carb Cosmopolitans


This week we thought we would celebrate Sex and the City's 20th Anniversary with our Sweet and Sour Low-Carb Cosmopolitans, or Cosmos!

Whenever "the girls" from Sex and the City decided to go clubbing, the Cosmo was their drink of choice.  We remember trying our first Cosmo and just fell in love with them. Who doesn't love Vodka with an added orange and cranberry flavor?!!

Nowadays, we've switched to alcoholic drinks with lower carb counts.  However, the fun doesn't have to end here. We have a fun recipe to replicate our favorite Cosmo experience.

Our recipe is very easy and takes less than 5 minutes to make.

Our ingredients for our cocktail are as follows:


  • 4 tsp. Sweetener of Choice
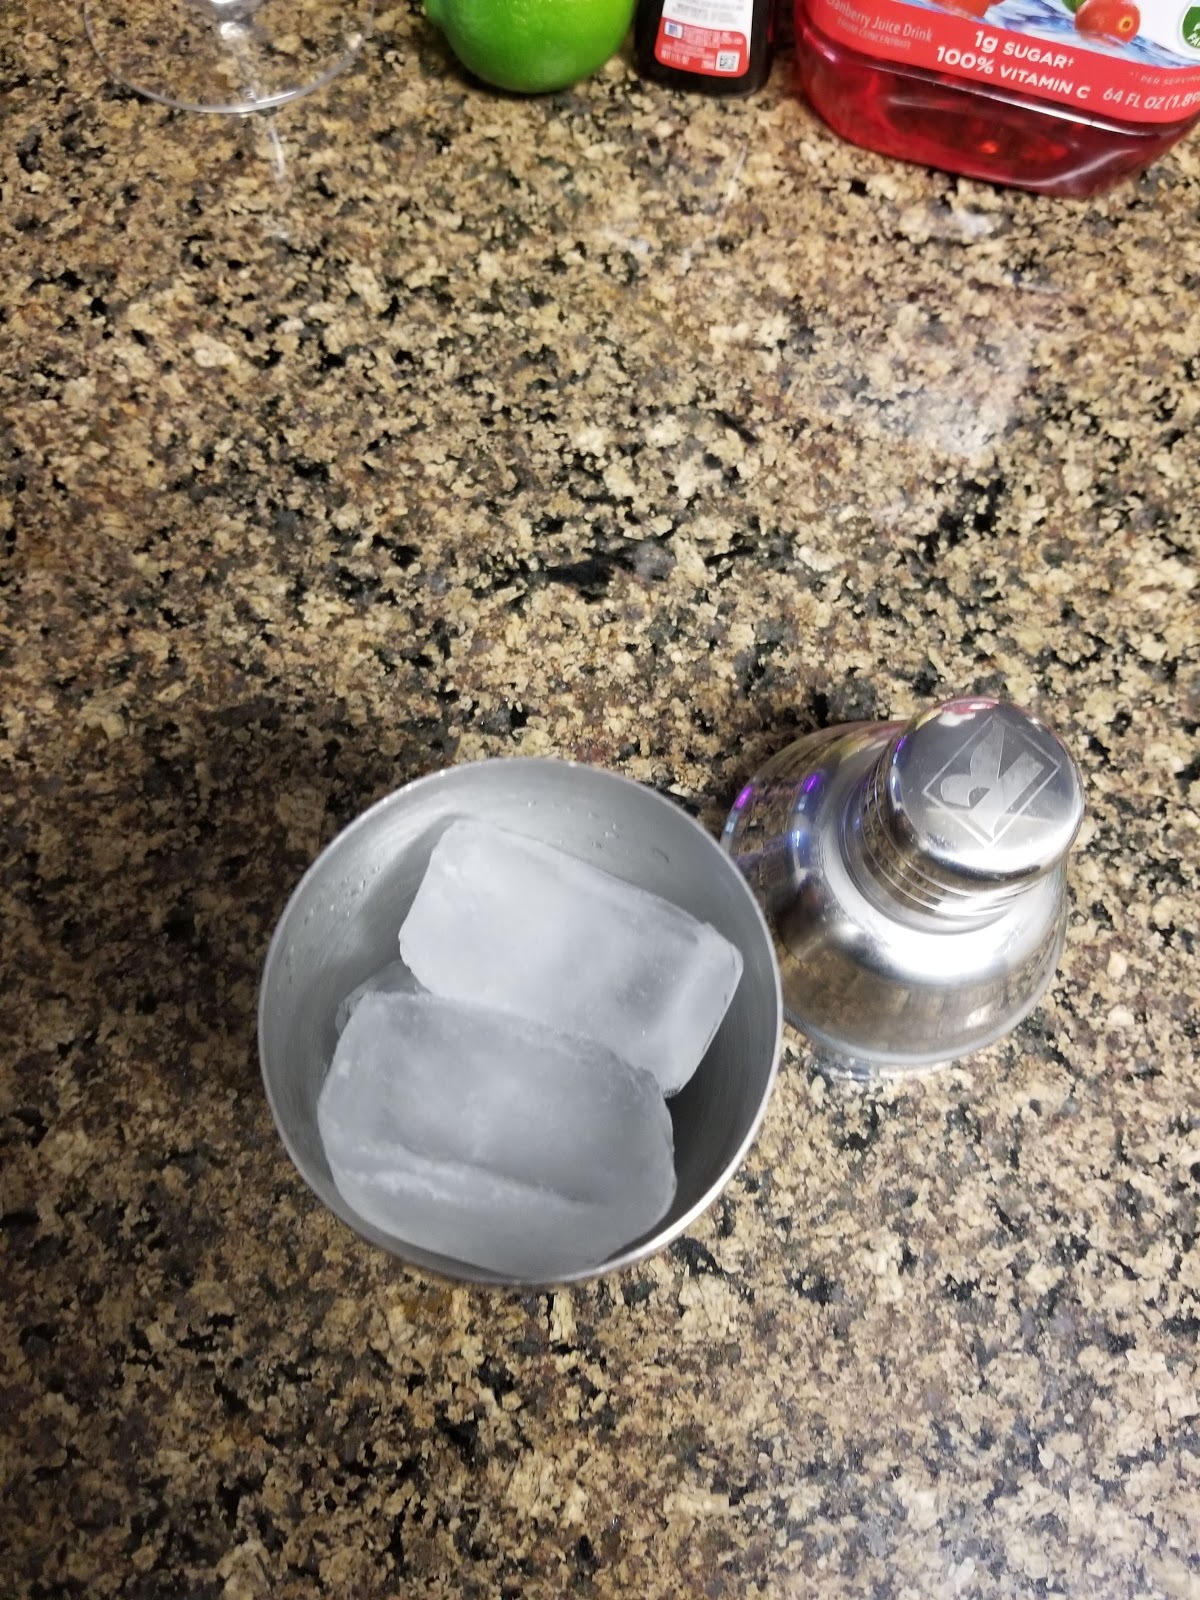
  • 3-4 Ice Cubes
  • 3 Drops of Orange Extract
  • 2 Tbsp. Diet Cranberry Juice
  • 2 Tbsp. Cold Water
  • 1 1/2 Shots of Vodka
  • I Tbsp. Lime Juice
  • 1 Lime
We'll begin by placing our ice cubes in our Martini Shaker.  

If a shaker is unavailable, 2 glasses or cups could be used, instead.  


We'll then, pour our Vodka, Cranberry Juice, and extract over our ice.


Next, we'll slice our line in half.


We'll use one half to slice up, in order to garnish our Cosmos Glass.  .


We'll then, use the other half of our lime to squeeze 1 Tbsp. of Lime Juice for our Cosmos and will add to our shaker.


Next, we'll add our sweetener to our shaker and will cover.


We'll now, vigorously shake our shaker to thoroughly mix our contents.


Finally, we'll pour our contents into our Martini Glass and will garnish with our sliced lime.


Voila and Cheers! 

Our flirty and refreshing Cosmopolitan is ready for our lips!


Now that we have our Sweet and Sour Low-Carb Cosmopolitan, we are ready to binge watch Sex and the City!

As Carrie says in the last episode, "why did we ever give these up?"

From our kitchen to yours~

Enjoy!

Happy 20th Anniversary - Sex and the City!  😊😊😊

Wednesday, May 30, 2018

Giraffe's Frozen Low-Carb Blueberry-Orange Creamsicles


Well, the dog days of summer have definitely arrived, especially, in our home state of Arizona.  Our daily afternoon and early evening temperatures have soared to a little over 100°F.

We're always looking for something to both quench our thirst and to satisfy our sweet tooth.  As children, Orange Creamsicles were so scrumptiously delicious.  However, they contain awful amounts of sugar.

We therefore,  glanced into our refrigerator, to see if we had ingredients to create a low-carb version.  Since, we had a couple of packages of blueberries, we thought we would attempt to create our own Blueberry type Creamsicle. 

In past recipes, we've used Lemon Extract to enhance our blueberry flavors. However, when we visited our local grocery store, Lemon Extract was unavailable.  We then, decided to choose a compatible flavor that would likely blend well with our blueberries - orange!

Preparation time for our Blueberry-Orange Creamsicles is about 5-10 minutes, while our freezing time is another 3-4 hours.

Our ingredients for our yummy recipe are as follows:


  • 8 oz. Cream Cheese
  • 2 Packages of Blueberries
  • 1 Cup of Heavy Whipping Cream
  • 1 Cup of Sweetener
  • 1 Tbsp. Orange Extract
  • Popsicle Molds
Any Popsicle Molds would work just fine. However, we wanted a set of molds that would be sturdy and last awhile.  So, we found these Molds on Amazon.com (Merely click this link and you too can own this product from Amazon's Website.)

We'll begin by placing our Cream Cheese in our mixing bowl, will place in our microwave oven, and will melt for about 1 minute.

Melted Cream Cheese would assist our mixture to easily blend together.


After our melting time, we'll remove our cheese from our microwave, will stir, and will place in our food processor.

If a food processor is unavailable, a blender or electric mixture would also suffice.


Next, we'll add our cream, sweetener, Orange Extract, 1 1/2 containers of our blueberries, will cover, and blend on high for about 1 minute, or until our mixture is smooth and creamy.


Since our mixture is now creamy and smooth, we'll use our spoon to scrape any remaining ingredients from the sides of our processor,  and will mix in with our bowl of creaminess.


We'll now add our remaining 1/2 container of blueberries to our mixture and will stir.  

This will ensure that each creamsicle will hopefully, contain at least 1 blueberry.  


We'll then, slowly and carefully fill our molds with our cream cheese mixture.   We'll fill each mold to the top, but will try not to overflow them.


Next we'll cover our molds, will insert our sticks about 1/2 of the way into our mixture, and will place in our freezer for 3-4 hours.


(Please excuse our full flavored ice cream and whipped topping in our freezer.  One of our birthdays was last week.  So, naturally, this was one of our sugar cheating days. πŸ˜πŸ˜…πŸ˜€)


We were in such a rush to eat our creamsicles, that we removed them from our freezer after about 3 hours.

Our creamsicles were slightly difficult to remove from our molds. However, after running them under hot water for about 10 seconds, we were easily able to pull them from their casings. 


Our Creamsicles were definitely worth the wait!  

Their textures are delicate and silky, while their flavors are just incredible!

Each bite is creamy, smooth, and embodies the rich blueberry flavor, coupled with the hint of orange.  The two flavors complement each other extremely well. 


Our low-carb Blueberry-Orange Creamsicles definitely satisfied our sweet tooth and will hopefully, satisfy yours, as well.  

Since our frozen bars have such a low-carb, we're finding ourselves eating more than one at a time.

Thank you for visiting another week of Smokey and Giraffe's Low-Carb Kitchen!

From our kitchen to yours ~

Enjoy!


Thursday, May 24, 2018

Smokey's Juicy Low-Carb Baked Chicken Drumsticks


Many of us have those quick go-to recipes, when they have either a lazy day or lack the time to cook a fancy meal.

Our baked chicken recipe started out as our go-to meal, years ago.  However, recently, this recipe has become one of our favorites.

We thoroughly enjoy the crispy chicken skin that seals in its juices.  Right before our chicken has finished baking, we find ourselves anticipating our first bite.

Preparation time is less than 5 minutes, while baking takes another 1 hour to 1 hour 30 minutes, depending on your taste.

Our ingredients for our succulent chicken includes:

  • 1 Family Pack of Chicken Drumsticks
  • 1-2 Tbsp. Onion Powder
  • 1-2 Tbsp. Garlic Powder
  • 1-2 Tbsp. Poultry Seasoning
  • 1-2 Tbsp. Paprika
  • 1 Tbsp. Ground Pepper
  • Generous drizzle of Olive Oil
We thought we should comment about our spices that we use for our recipe.  

As we generously drizzle our Olive Oil over our drumsticks, we'll do the same with our seasonings.  

That's why we mentioned that we use approximately 1-2 Tbsp. of each seasoning, depending on your tasted.  Feel free to season your chicken as you wish.  πŸ˜€

With that said, we'll begin by lining our pan with Aluminum Foil,  will spray with our cooking spray, and will preheat our oven to 375°F.


Next, we'll line our drumsticks on our greased pan, skin side up. 

Lining our chicken, skin side up, will allow our skin to crisp, throughout our baking process.


We'll then, sprinkle our Onion Powder, pepper, Poultry Seasoning, Garlic Powder, and Paprika over our drumsticks.


Next, we'll drizzle our Olive Oil over our seasoned drumsticks and will place in our oven. 

We'll then, bake for 1 hour to 1 hour and 30 minutes, depending on how you like your chicken. 


After 1 hour and 30 minutes, our drumsticks appear to have finished baking.


Voila! 

Our baked and juicy chicken drumsticks are ready to be served!


The skin is slightly crispy, super moist, and full of flavor!

Each succulent bite oozes with the juices, coupled with the seasonings to create the perfect taste.  

I can't tell you how much we enjoy our baked chicken!  Probably a little too much.  πŸ˜…πŸ˜… If we're lucky, we'll put a few drumsticks in our refrigerator, for leftovers.

We also decided to pair our chicken dish with our Korean Style Bean Sprouts, from one of our previous blog entries.


We're happy to share another delicious and innovative meal with you.  πŸ˜ƒ

From our kitchen to yours ~

Enjoy!