

Sometimes we miss eating our food dishes that are full of carbs ~ potatoes, pizza with crust, desserts, and especially, quiche with a crust.
Well, with the help of our Carbquik, we've created a flaky, tasty, and crumbly crust to accompany our yummy quiche.
Our preparation time was about 10-15 minutes, while our baking time was about 1 hour.
These are the ingredients we purchased:


- 6 Eggs
- 2 Cups of Carbquik
- 2 Cups of Shredded Cheese of Choice
- 2 - 4 oz. Cans of Sliced Mushrooms
- 1 tsp. + 1/8th tsp. Garlic Powder
- 1 tsp. + 1/8th tsp. Oregano
- 1 Green Pepper
- 1 Onion
- 1 tsp. Salt
- 1 tsp. Ground Pepper
- 1 Cup Heavy Whipping Cream
- 1/2 Cup of Vegetable Oil
- 1/2 Cup of Ice Water
We'll first make our crust, by placing our Carbquik, salt, oil, ice water, 1/8th tsp. of Garlic Powder, and 1/8th tsp. of Oregano into our mixing bowl.


We'll then, stir our ingredients, until a ball of dough is formed.


Next, we'll spray our 9 inch baking dish with cooking spray and will preheat our oven to 400F degrees.


We'll then, place our dough in the center of our pie dish.

Next, we'll press our dough into our pan, until our dough is evenly spread throughout.


At this point, we'll crimp our dough, so that our pie looks somewhat professional, yet homemade.
We'll gently place our pinkie finger on the dough that is on rim of the pie pan, and will move our finger a little to the left, creating a ridge.

We'll then, place our pinkie finger to the right of our ridge and will continue crimping until we have crimped the entire pie dough.


Now, we'll prepare our egg filling.
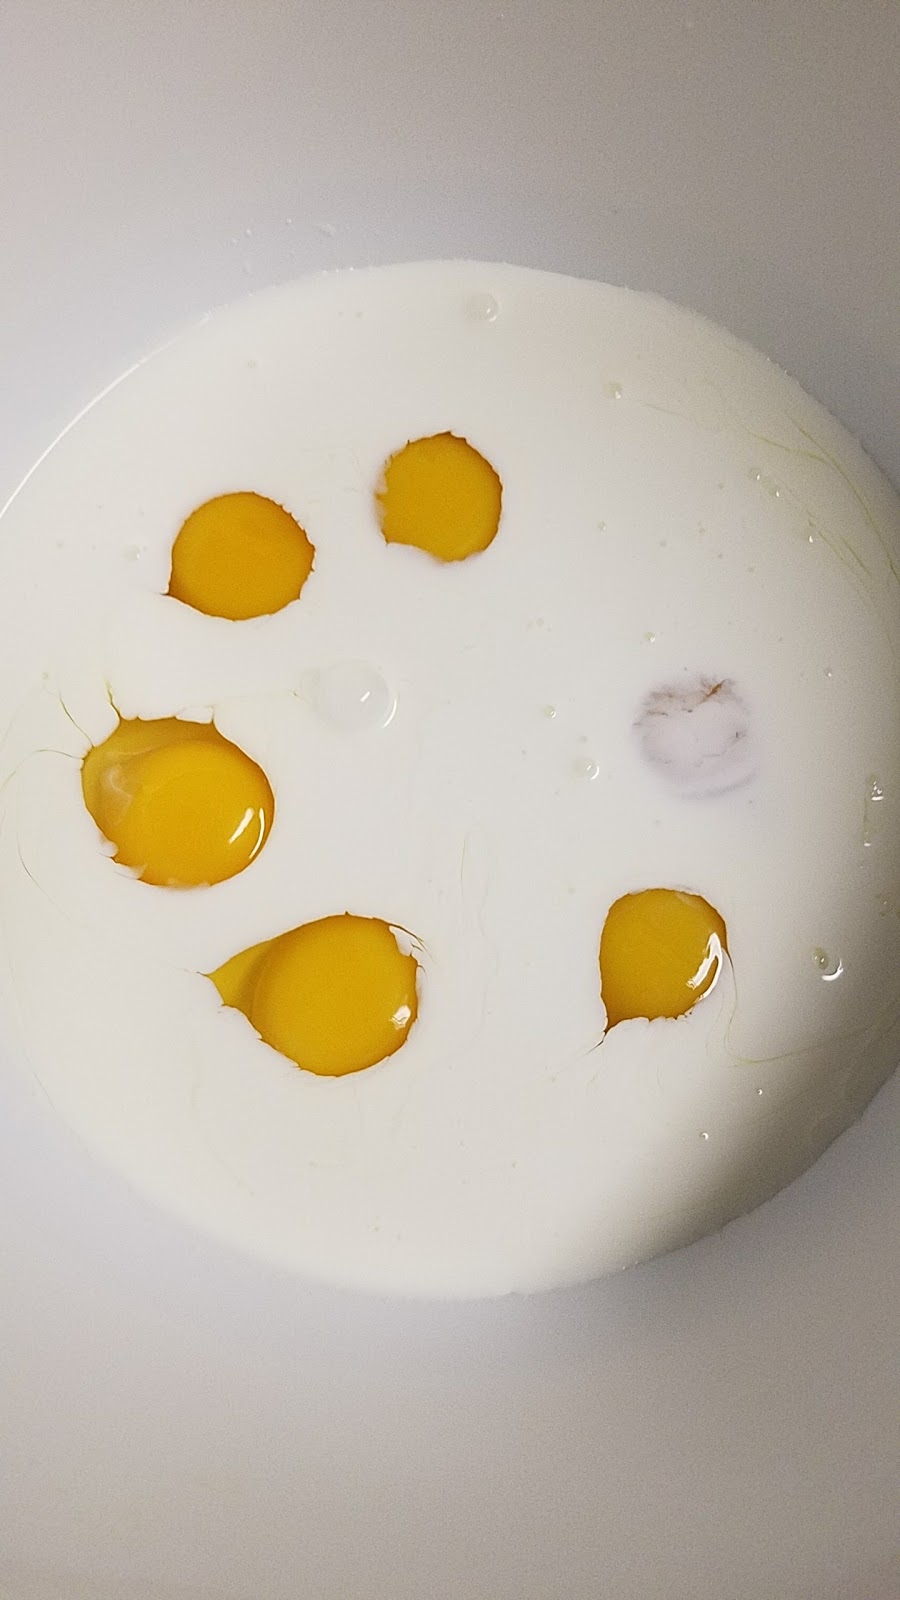
We'll begin by placing our eggs, cream, and mushrooms in a large mixing bowl.


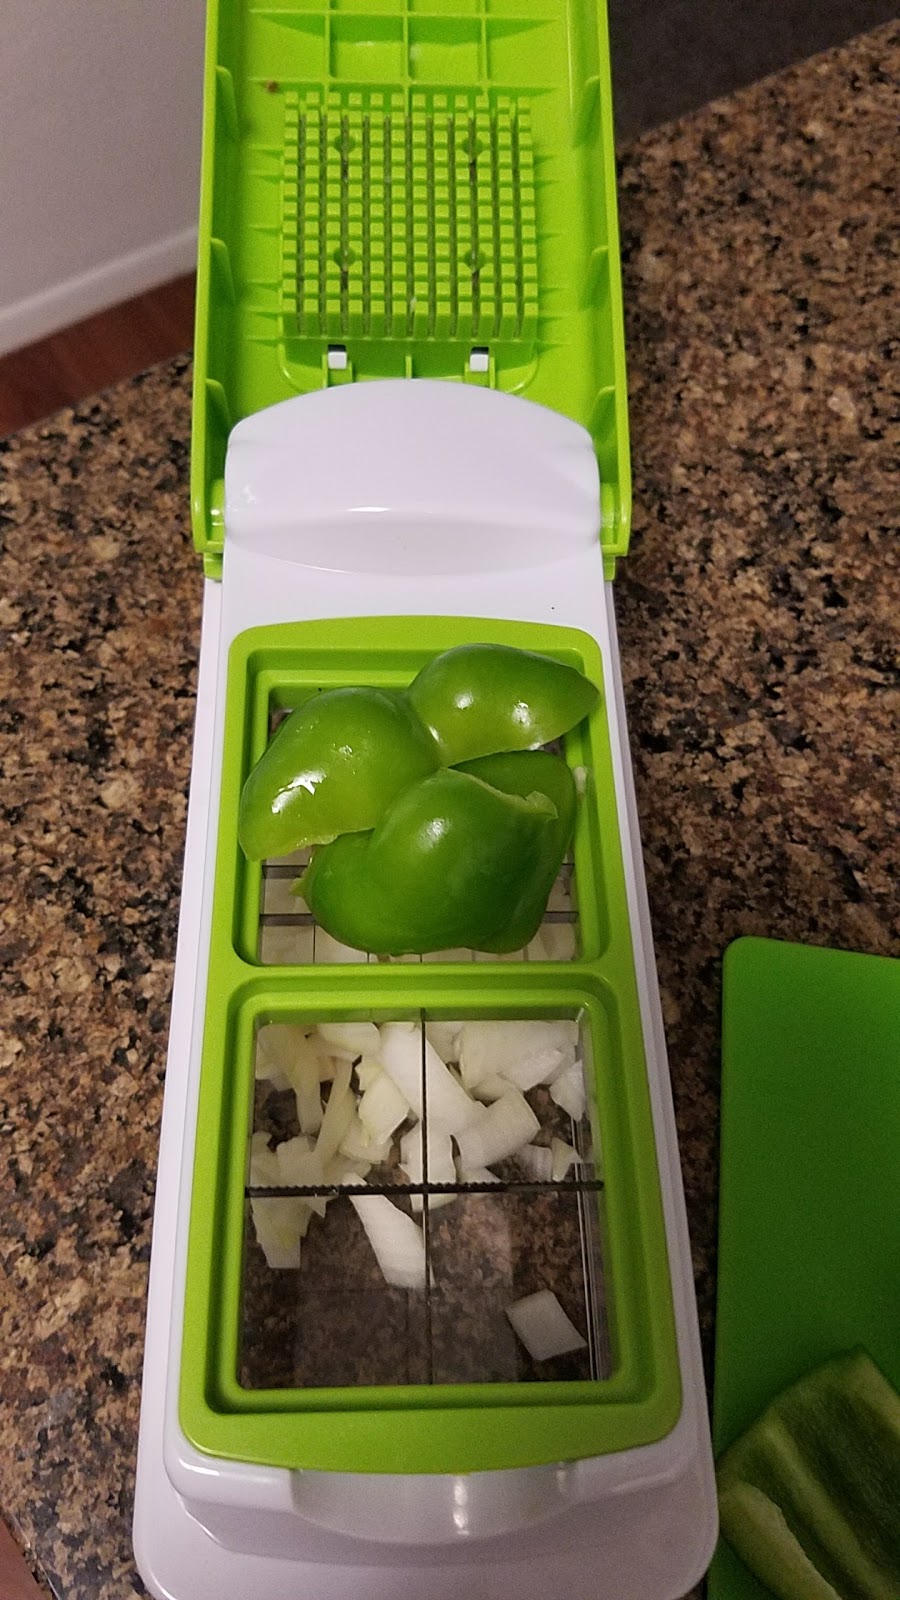
We'll then, chop our onion and green pepper with our As Seen on TV's 1-Second slicer and will pour into our egg mixture.



Next, we'll add our Ground Pepper, Garlic Powder, and Oregano to our mixture and will whisk until fully blended.


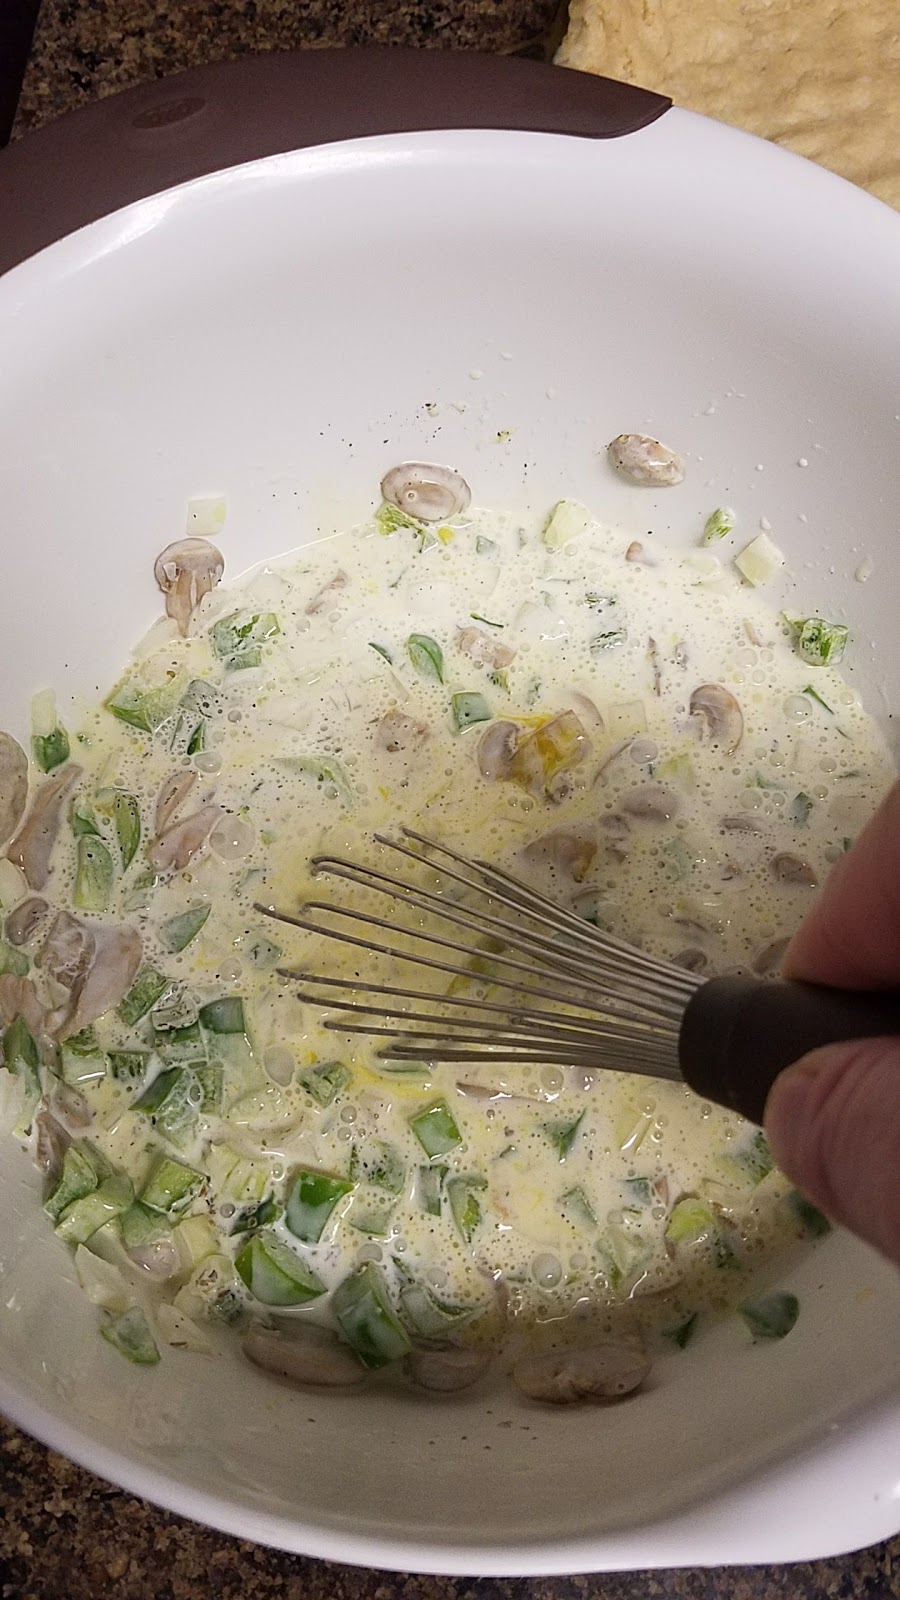

We'll then add our shredded cheese and will stir until mixture is thoroughly mixed.


We'll now, pour our egg mixture into our pie pan, up to about 1/2 inch from the top.
While cooking, our egg mixture will slightly rise. If we fill our pie pan to the top, the egg mixture may boil over.
We'll, therefore, bake our quiche on a pan, in case of overflowing.


Next, we'll place our quiche into the oven and will bake for 1 hour, or until our pie has slightly browned and does not jiggle when moved.
The middle of the quiche may also be poked with a fork to determine doneness. If the inserted fork is removed and is clean, your quiche has finished cooking.

We'll remove our quiche from our oven after 1 hour and will allow to cool for about 10-15 minutes.


Voila!!
Our crusty quiche is ready to be served!!
You'll be surprised with the crumbliness of our crust. Our savory crust complements our creamy and fluffy egg mixture.
We feel as if we are eating a hearty and old fashioned meal prepared by grandma.
Our quiche will usually last us for 2-3 meals.
The Carbquik is a lifesaver! The possibilities are endless. But, for now, we're going to enjoy our new crumbly crust, until we discover our next Carbquik Creation.


From our kitchen to yours ~
Enjoy!!


